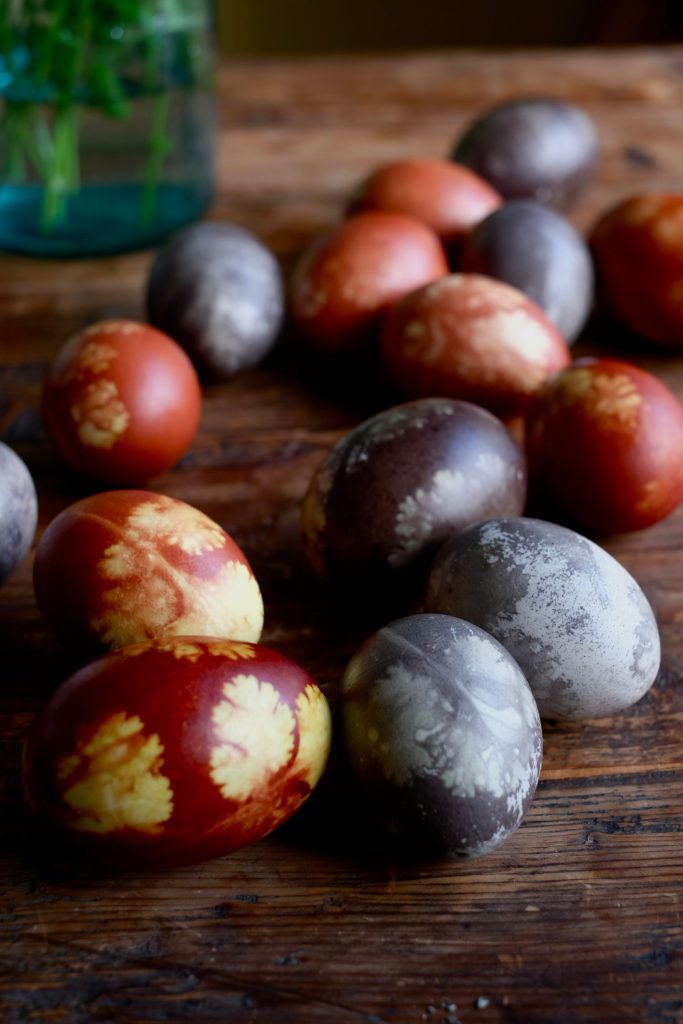
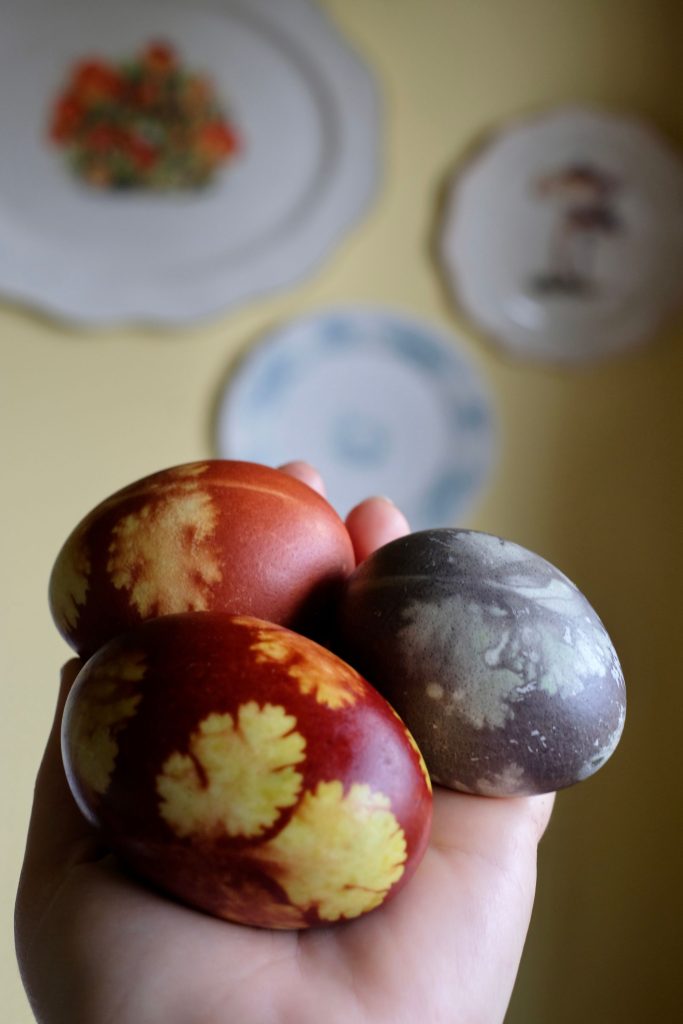
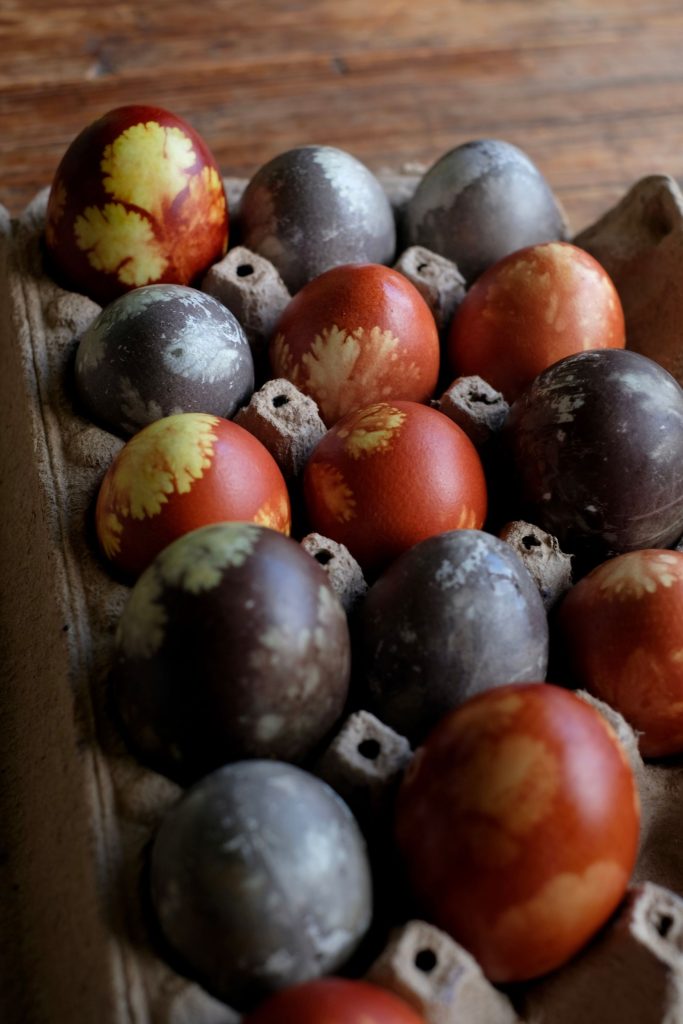
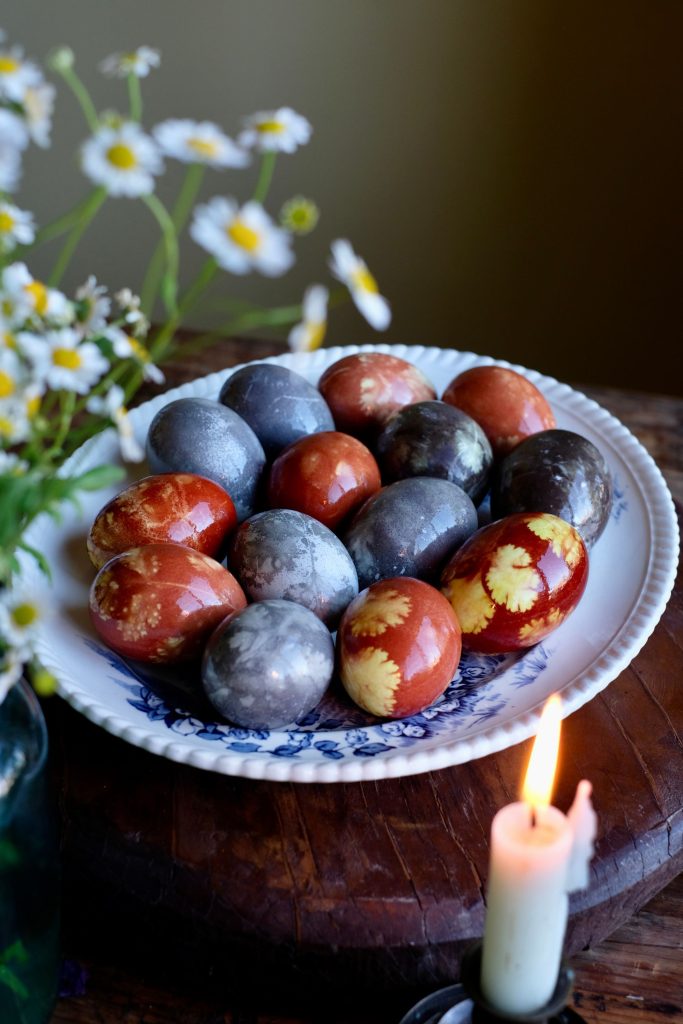
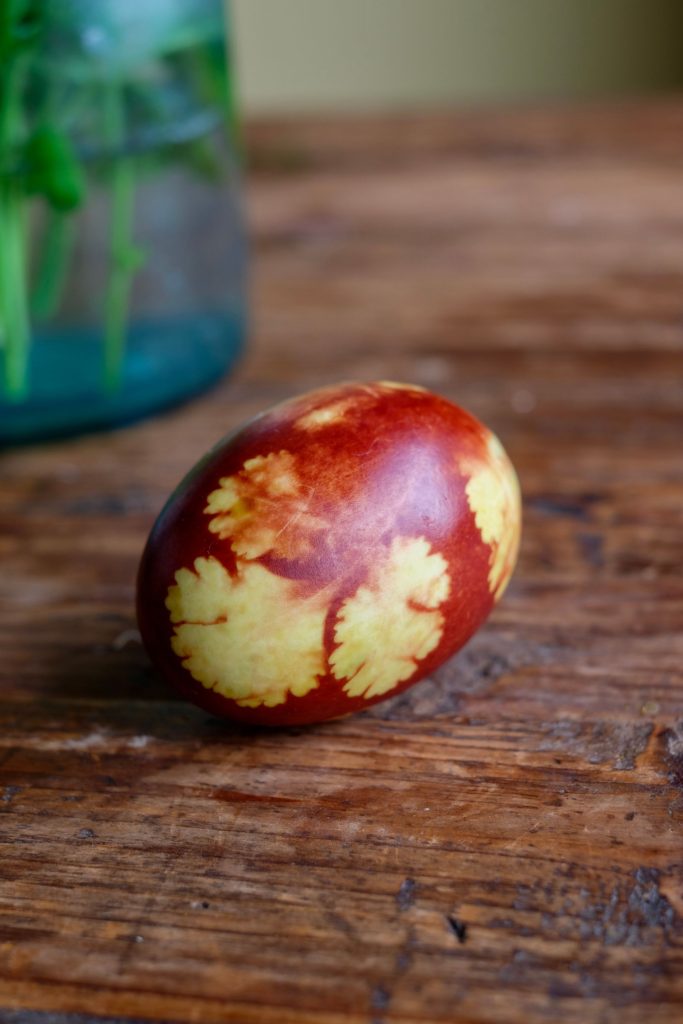
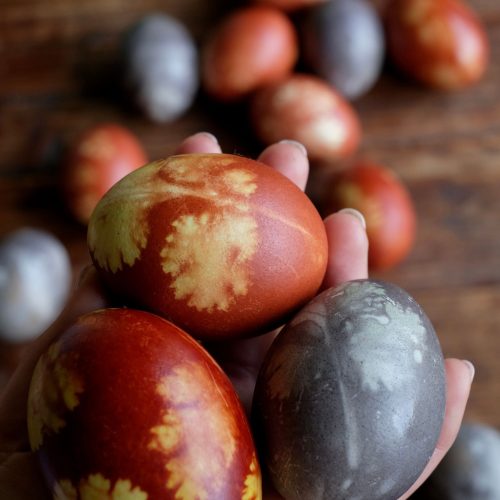
Each year, my grandma makes Easter Eggs with yellow onion skins, giving them a warm, earthy hue—a traditional method from Eastern Europe. She also wraps the eggs with cilantro leafs and cheesecloth, which leave a beautiful, bright imprint. This year, following her guidance, I tried it myself. I made one tweak: using blueberry dye to add a pop of contrasting color.
Ingredients and Special Equipment:
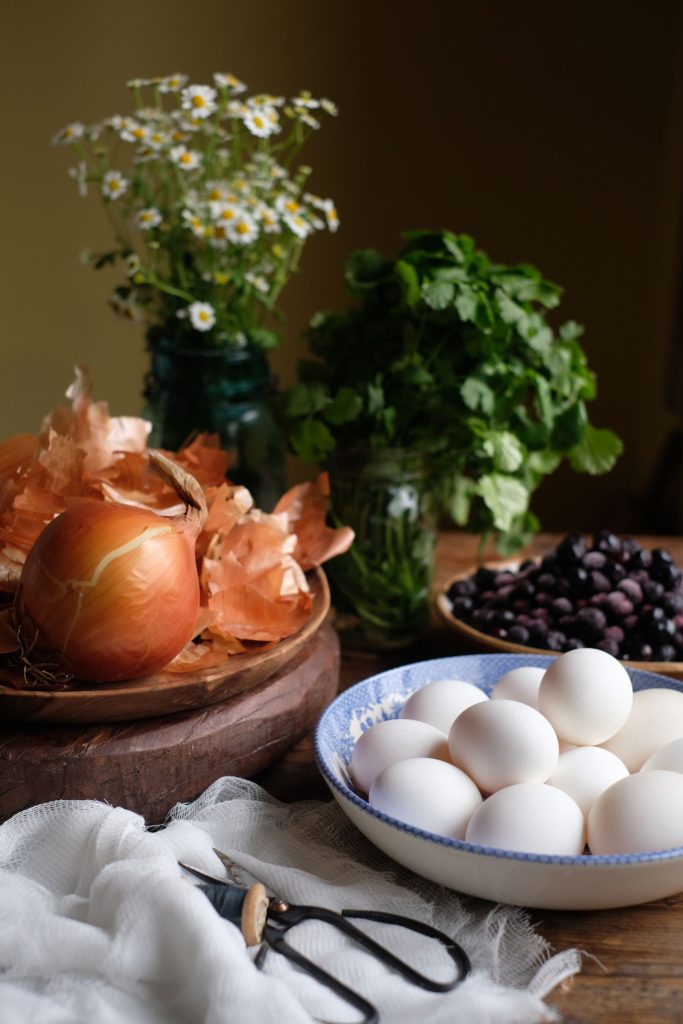
Eggs: You will want to use white eggs for the most vivid color. I find that fresh eggs absorb the color even more, however they are harder to peel (if you plan to eat them after). Store bought eggs will do just fine.
Yellow Onion Skins: Instead of buying a bunch of onions and peeling their skin, often times there are many onion skins laying at the bottom of the onion bin at the grocery store. You will need about the skin of 8 onions or half a produce bag full.
Blueberries: I like to use frozen blueberries because they are cheaper to buy in bulk and the color is very vibrant. You could use fresh blueberries as well.
Herbs: Cilantro is a great option, my grandma always uses it. It sticks to the egg well and creates a beautiful imprint. You could experiment with other herbs and leafs, such as, mint, sage, ferns, etc. I don’t recommend parsley because it doesn’t stick well. I also experimented with chamomile flowers, but they were too delicate to hold up in the process.
Olive Oil: Optionally, use a neutral oil to give the eggs a nice shine and enhance the color even more.
Cheesecloth and Thread: You will need 12-18 pieces of cheesecloth, depending on how many eggs you are dying. Cut the pieces into squares big enough to wrap around the egg. A small piece of thread is used to make a tight knot around the cheesecloth.
Natural Dye Ukrainian Easter Eggs Process
Step 1: Prepare the Onion Skins
Collect the dry, papery outer skins from yellow onions. You’ll need enough onion skins to fill a pot with water. Rinse the onion skins to remove any dirt or debris.
Step 2: Boil the Onion Skins
In a large pot, add the onion skins and enough water to cover them completely, at least 2 quarts (the amount of water will reduce as it simmers).
Bring the water to a boil, then reduce the heat and simmer for about 30 minutes and up to 1 hour. The longer the onion skins simmer, the deeper the color of the dye will be.
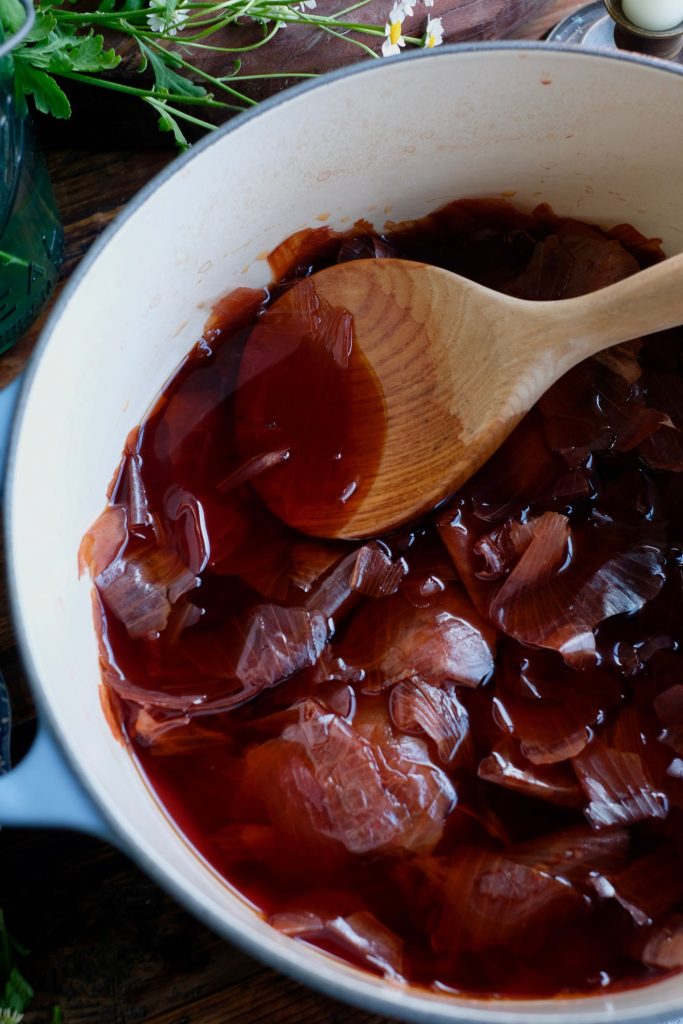
Step 3: Cool and Strain the Onion Skins
Allow the onion skin dye mixture to cool. Strain out the onion skins (to leave more room for the eggs), leaving behind the liquid dye and transfer it to a smaller pot if needed.
My grandma always boiled the eggs in the onion skins. If you’re doubling the recipe and doing a large quantity, straining is not necessary. I make a smaller quantity than my grandma so I strain out the onion skin to leave more room for the eggs.
Step 4: Prepare the Blueberry Dye
Thaw the frozen blueberries at room temperature or in the refrigerator until they are soft. In a large pot, add the thawed blueberries and 2 quarts of water.
Step 5: Boil the Blueberries
Bring the water to a boil, then reduce the heat and simmer for about 30 minutes to 1 hour. The longer the blueberries simmer, the deeper the color of the dye will be. Mash the blueberries occasionally to release more color.
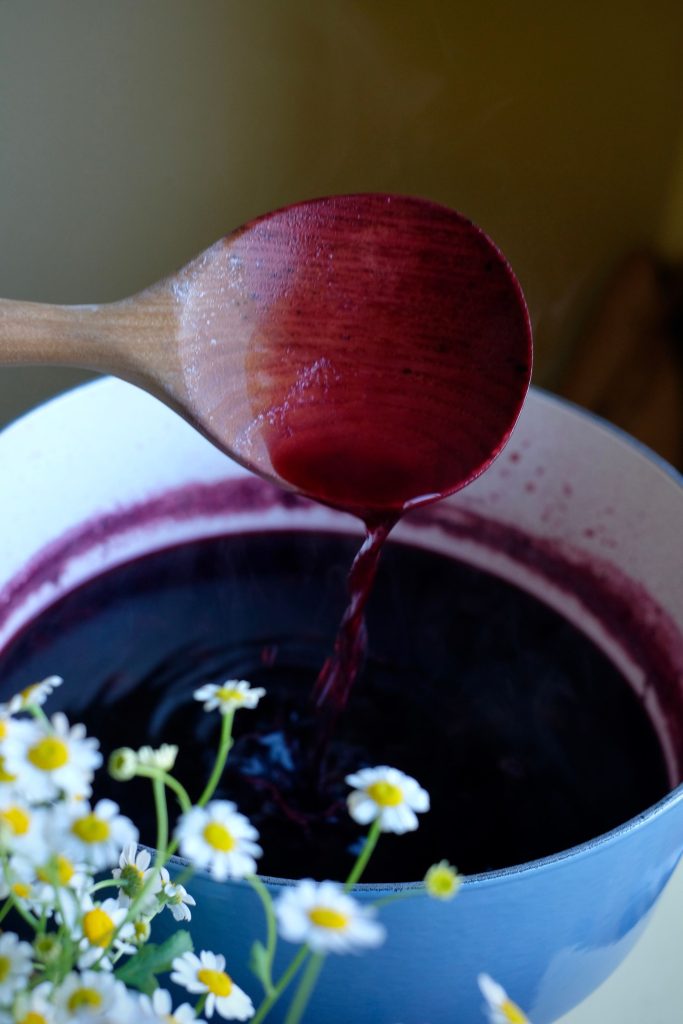
Step 6: Cool and Strain the Blueberry Dye
Allow the blueberry dye mixture to cool. Once cooled, strain out the blueberry solids using a fine-mesh sieve or cheesecloth, leaving behind the liquid dye. Straining makes it easier and less messy to take the eggs in and out of the dye.
Step 7: Prepare the Eggs and Herb Decoration
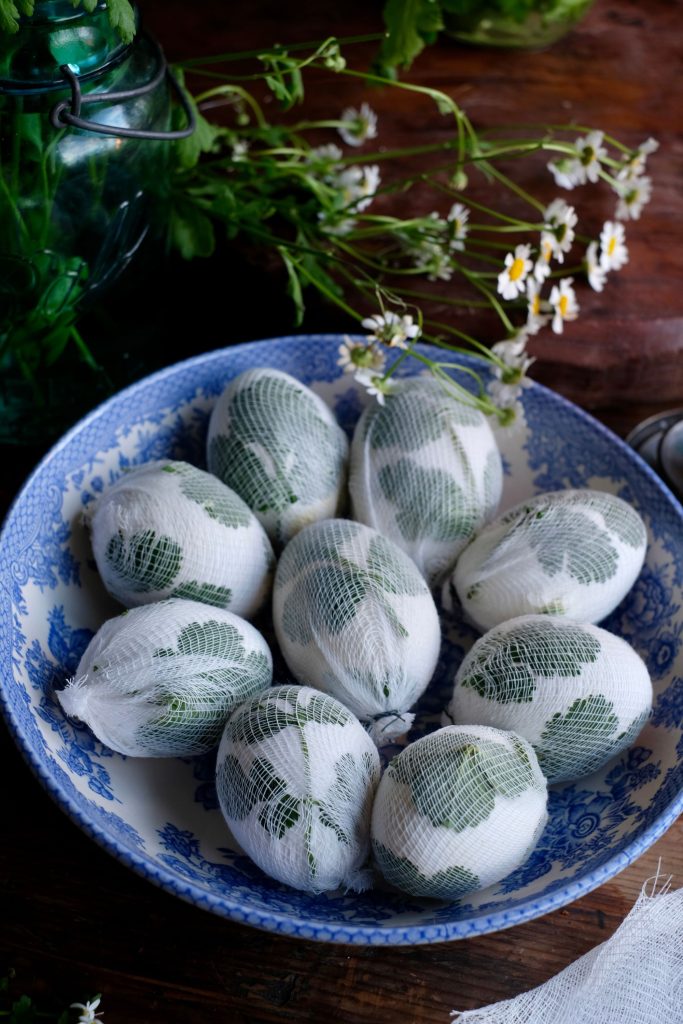
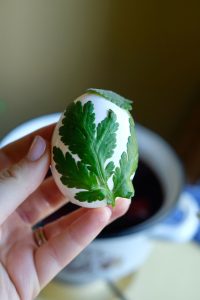
While the dyes are simmering, prepare the eggs. Soak the herbs in a little water to help it adhere to the egg. Gently apply the herbs to the egg, making sure it sticks to the shell. As mentioned, some herbs work better than others for this. I recommend cilantro because it sticks to eggs very well and makes a beautiful imprint.
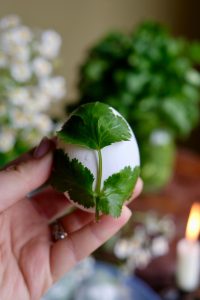
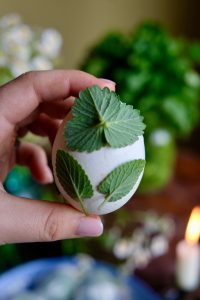
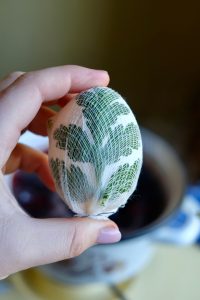
Tightly wrap a piece of cheesecloth around the egg, careful that the herbs stay in place. Twist the cheesecloth tightly at the bottom and tie a tight knot of thread around it. Make sure everything is tightly secured, otherwise the imprints won’t come through as distinctly. Cut off the excess cheesecloth right above where you tied the knot. Repeat the process with all the eggs.
 .
.  .
. 
Step 7: Dye the Eggs
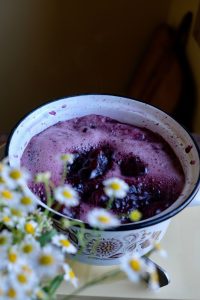
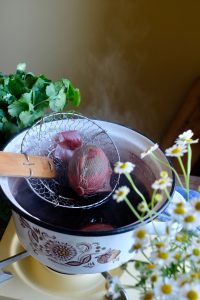
Once the dyes are cooled, gently lower half the eggs into the onion skin dye and the other half of the eggs into the blueberry dye. The eggs should be fully submerged in a single layer, and if they’re not, use a smaller pot. Note that any pots/tools that are used could be stained.
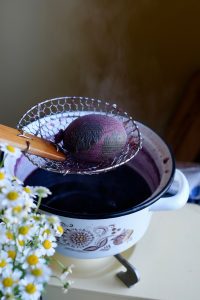
Bring the dye mixtures to a boil and then reduce heat to a gentle boil. Now set your timer for 10-12 minutes for a hard-boiled egg. When your timer is up, gently take out the eggs with a slotted spoon and set them on a cooling rack or paper towels.
 .
. 
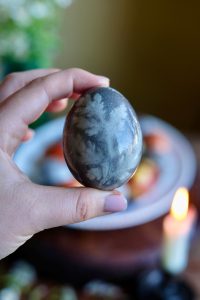
Cool the eggs for five minutes, then peel off the cheesecloth and herbs, while the eggs are still warm (otherwise the herbs will dry onto the egg and it will be harder to peel off). After the eggs dried, you can add a shine to them by lightly rubbing them with a small amount olive oil. They are now ready to display, or store them in the fridge until ready to use. Enjoy!
To Make Ahead
You can make the dye up to one week ahead and store it in the fridge until the day of Easter or whenever you plan to dye the eggs. On the day of dying the eggs, prepare the herb/egg decoration.
Alternatively, you may dye the eggs up to one week ahead of time and store the eggs in the fridge until ready to use.
Natural Dye Ukrainian Easter Eggs
Equipment
- 2 Pots Small and Large
- Slotted Spoon
- Strainer
- Bowl
- Cheese Cloth Cut into squares
- Thread
- Scissors
Ingredients
- 12-18 Eggs - Room temperature
- 8 Yellow Onions - Peels only
- 4 Cups Blueberries - Frozen or fresh
- 4 Quarts Water - Divided
- Herbs - I used mainly cilantro and chamomile leafs
- Olive Oil - Optional, to shine the eggs
Instructions
For the Onion Skin Dye:
- Collect the dry, papery outer skins from yellow onions. You'll need enough onion skins to fill a pot with water.
- Rinse the onion skins to remove any dirt or debris.
- In a large pot, add the onion skins and enough water to cover them completely, at least 2 quarts (the amount of water will reduce as it simmers).
- Bring the water to a boil, then reduce the heat and simmer for about 30 minutes. The longer the onion skins simmer, the deeper the color of the dye will be.
- Allow the onion skin dye mixture to cool. Optionally, strain out the onion skins in a colander into a smaller pot, leaving behind the liquid dye.
For the Blueberry Dye:
- Thaw the blueberries at room temperature, if using frozen.
- In a large pot, add the thawed blueberries and 2 quarts of water.
- Bring the water to a boil, then reduce the heat and simmer for about 30 minutes. Mash the blueberries occasionally to release more color.
- Allow the blueberry dye mixture to cool. Once cooled, strain out the blueberry solids using a fine-mesh sieve or colander, into a smaller pot, leaving behind the liquid dye.
For the Eggs:
- While the dyes are simmering, prepare the eggs. Soak the herbs in a little water to help it adhere to the egg. Gently apply the herbs to the egg, making sure it sticks to the shell.
- Tightly wrap a piece of cheesecloth around the egg, careful that all the herbs stay in place. Twist the cheesecloth tightly at the bottom and tie a knot of thread around it. Make sure everything is tightly secured for the best results.
- Cut off the excess cheesecloth right above where you tied the knot. Repeat the process with all the eggs.
- Once the dyes are cooled, gently lower half the eggs into the onion skin dye and the other half of the eggs into the blueberry dye. The eggs should be fully submerged in a single layer, and if they're not, use a smaller pot.
- Bring the dye mixtures to a boil and then reduce heat to a gentle boil. Now set your timer for 10-12 minutes.
- When your timer is up, gently take out the eggs with a slotted spoon and set them on a cooling rack or paper towels.
- Cool the eggs for five minutes, then peel off the cheesecloth and herbs, while the eggs are still warm (otherwise the herbs will dry onto the egg and it will be harder to peel off).
- Optionally, shine the eggs with a little olive oil to make their color stand out even more.
Notes
@thecottagefawn Natural dye Easter eggs with beautiful herb imprints. Every year my grandma makes Easter eggs using yellow onion skins creating a warm, earthy color, while cilantro leaves a pretty pattern on the eggs. It’s a fun project and the dye can be made ahead of time. I used blueberries for the blue colored eggs and you can experiment with different herb patterns. Detailed recipe at thecottagefawn.com 🌿 All you need is: Water Onion skins Blueberries Herbs Cheesecloth • • • #eastereggs #naturaldye #oldfashioned #cozy #simpleliving #slowliving #cottogecore #easter #recipe #recipeideas #traditional #eggs #oldways #cozyfood
♬ Vivaldi Variation (arr. for piano from Concerto for Strings) – Julie Hanney
